Easy Hello Spring Metal Wreath
Creativity
Easy Adorable Hello Spring Metal Wreath

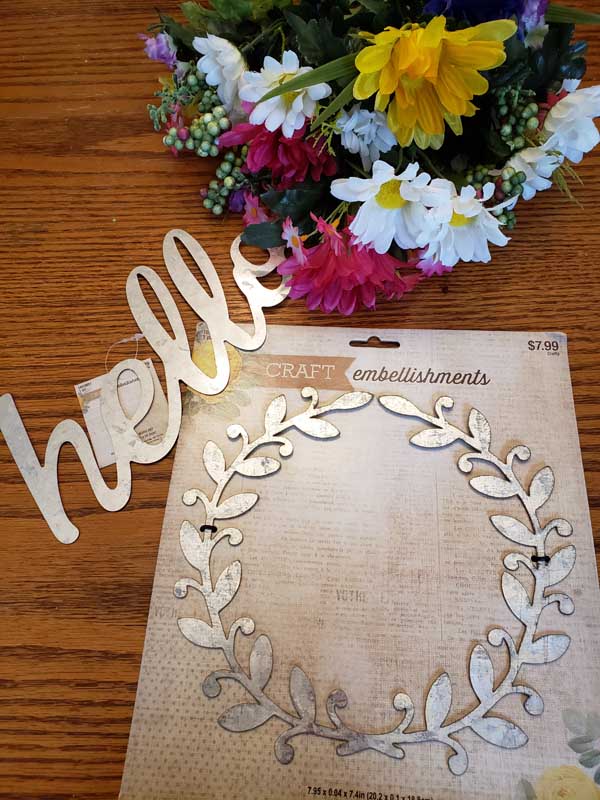
Well, Hello Spring! This cute and easy hello spring metal wreath is a quick way to dress up your front door or an area of your home or office. I love galvanized metal paired with pretty flowers and this inspiration came from something I saw at Hobby Lobby. Here are the directions and list of everything you will need!
Being creative takes your mind off the craziness our world is in right now and the results have an everlasting feeling of accomplishment and happiness! Plus, most things you probably already have at home or can order online. Happy crafting and be sure to share your creation with the rest of us!
![]()
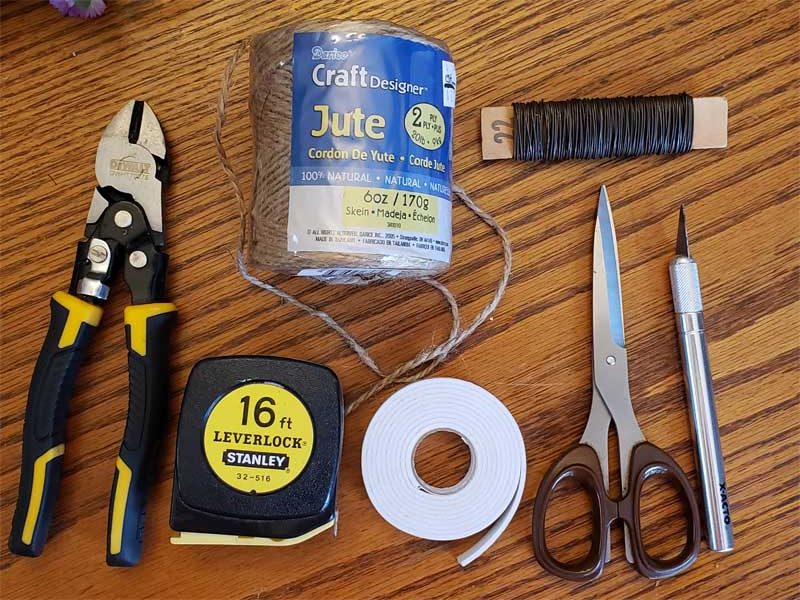
- Wire Cutters
- Tape Measure
- Craft Jute – 2 ply/20#, 36″
- Double-Sided Foam Tape
- Scissors
- X-Acto Knife
- Wire – 22 guage, Green or Silver
- Galvanized Metal Wreath
- Galvanized Metal Hello or Other Greeting

Directions
- Get all your supplies and tools together.
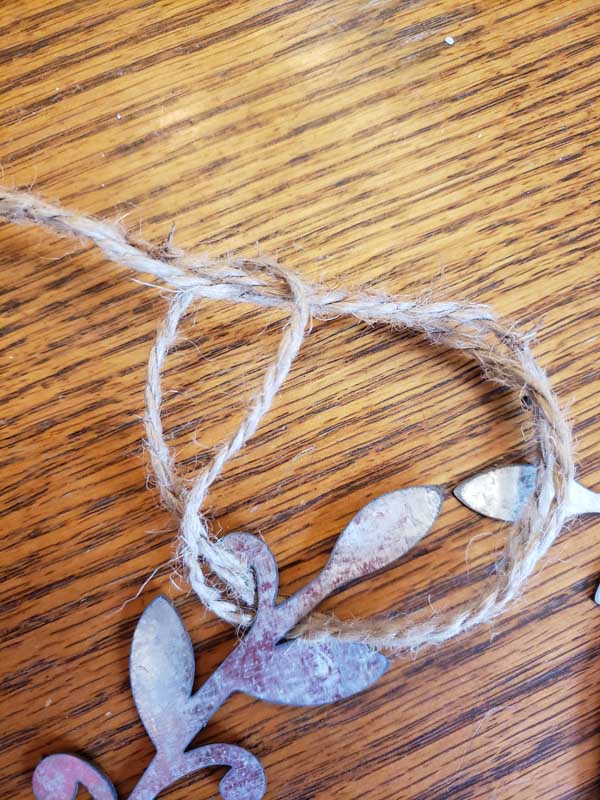
- Decide how long you want the jute hanger to be and cut a piece 3 times that length (12” x 3 = 36”). Fold in half and make a slip knot around one side of the wreath. On the other side make a knot making sure it is on the back side.
- Front side facing up, position your word on the wreath. Look for a spot on each side where you can hide the double-stick foam tape. Cut a small piece of tape, about ½” x ½”. Peel of one side and place it on the wreath where it will be hidden by the word. Do this for both sides and place your word on the tape firmly attaching it. I like the foam tape because it gives the wreath a little dimension.
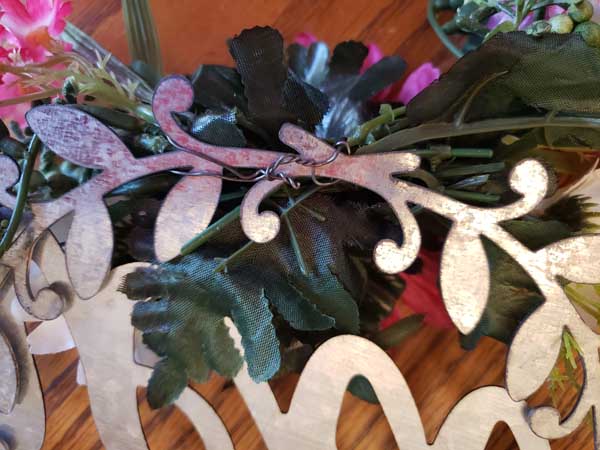
- Now gather your flowers and make a small bouquet laying the stems across each other until you like the way it looks. Take a 16” piece of wire and working from the back, work it through the center of the bouquet and wrap it around two times tightly. On the back side twist the two ends together several times and then wrap around the bottom of the wreath. Secure the wire on the back of the wreath by twisting several times. You may need to use another piece of wire to secure one side of the bouquet to another spot on the wreath just so it does not move around. Trim the ends of the wire short and push to the side.
- Flip the wreath over and trim the long stems of the flowers so they are short enough to not be seen.
- OPTIONAL: You could add a bow/ribbon at this point if you liked.
- Now go hang it up somewhere for you and everyone to ENJOY!


I would love to see your version of this project! Send me pictures to post showing your creativity!
* Keep in mind that we may receive
commissions when you click our links & make purchases. However, this
does not impact our reviews & comparisons. We try our best to keep
things fair & balanced, in order to help you make the best choice for
you. ♥
About The Author
Kym
Related Posts
Industrial Curtain Rod
Do you love the industrial rustic look as much as I do? It’s so trendy …
October 1, 2020
Leave A Comment